When push comes to shove, you may be left with no other choice but to secretly kill a tree. This could be because it poses safety concerns or is damaging the foundation of your home, among others.
Regardless of why, here we share a handful of ways that you can secretly kill a tree, enumerating several quick and slow methods, depending on the pace you’re going for.
How to Secretly Kill a Tree
The most effective way to secretly kill a tree is to dig into the roots and fill the holes with Tordon, a ready-to-use herbicide. Then cover the holes with cloth and fill them up with soil.
The tree should be dead in about 2 weeks with barely any signs of poisoning.
Fast Ways to Kill a Tree
There are quite a few quick ways to kill a tree, which could take anywhere from about 2 weeks to a month.
So if you don’t have much time on your hands and you want to get rid of that tree ASAP, keep reading to learn more.
1. Treat with Tordon
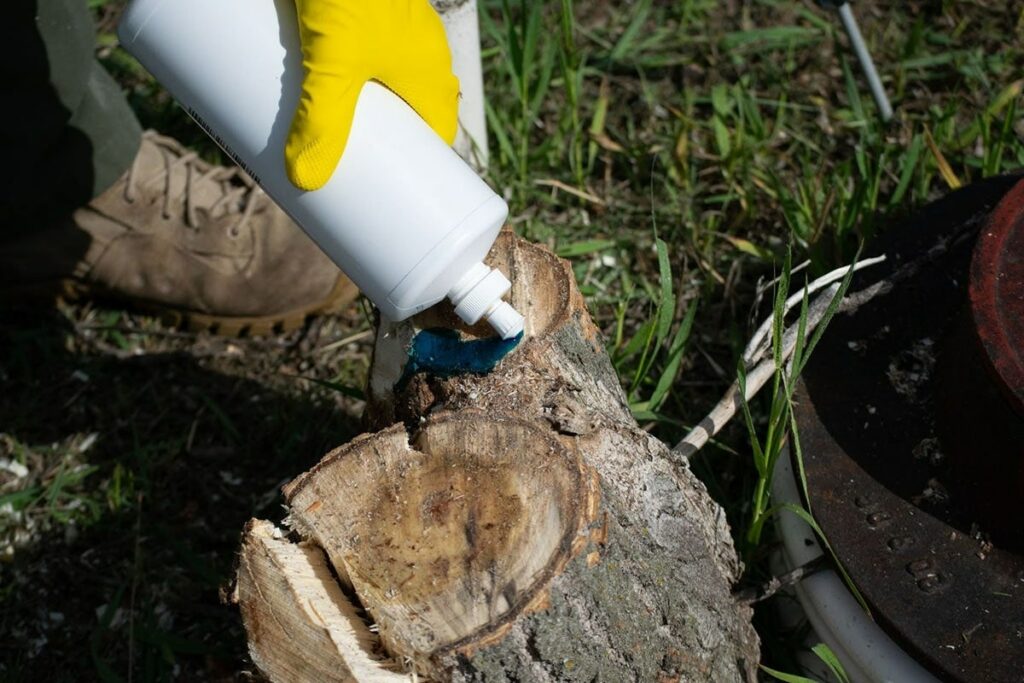
One of the fastest and easiest ways to kill a tree is by treating it with Tordon, which is a ready-to-use herbicide that you can purchase at your local gardening store or online.
Tordon is a popular and affordable method to control overgrown weeds, shrubs, and invasive trees, especially in non-cropland sites.
Most users appreciate the fact that Tordon doesn’t leave any residual effect, so you don’t have to worry about having any traces of poisoning.
The active ingredient in Tordon is called “picloram”, which works by killing the foliage off of the tree, making it unable to perform photosynthesis.
It’s incredibly effective as it’s typically directly applied to the stump or roots of the tree, going straight inside of the plant.
It typically comes in a liquid form that’s applied through a sprayer or in granule form. Some variations will require you to dilute the solution while others won’t.
However, it’s vital to keep in mind that Tordon can be toxic to humans and animals. While not particularly hazardous, always exercise caution when handling Tordon by wearing protective garments such as gloves and goggles.
In the same way, avoid using Tordon in areas with plants that you don’t want as they could absorb the solution. Also, avoid using Toron near bodies of water.
How to Use
Tordon comes in a squirt bottle to make application easier. The mixture is bright blue, which makes it easier to identify which areas you’ve already used the herbicide on.
If not, they also come in granule form, which is most commonly used to treat weeds.
What’s great about Tordon is that it’s ready-to-use, so you won’t have to worry about any other preparatory steps as.
- On a freshly cut stump, immediately apply an even layer of Tordon directly onto the surface of the stump.
Alternatively, you can dig a couple of holes until you see exposed roots. Through the hole, coat the roots of the tree in Tordon.
- For better effectivity, slice through the roots to ensure faster absorption.
- Once you’re done, cover the hole with a piece of cloth and top it with soil.
Results should begin to show after about 2 weeks. If not, reapply the solution after around 7 to 10 days.
2. Pouring acid around the base

For this method, you can use a variety of acids such as hydrochloric acid, sulfuric acid, or muriatic acid.
While you’ll be able to achieve the same results, it’ll be easier to get your hands on muriatic acid
Planter’s Tip: When using any acid, be careful to only apply it to your target tree as it can kill other plants that it comes into contact with.
To avoid getting acid onto any other nearby plantlife, you’ll want to dig a trench around your target tree. This will limit exposure and the chances of accidental spillages.
What To Do
- Dig a trench that’s deep enough that you’ve got quite enough root system exposure.
- Mix muriatic acid with water according to the prescribed ratio into a metal container.
Don’t forget to have on proper safety gear such as goggles and rubber gloves when handling acid.
- Afterwards, gently pour the mixture directly onto the roots of the tree.
3. Burn the stump
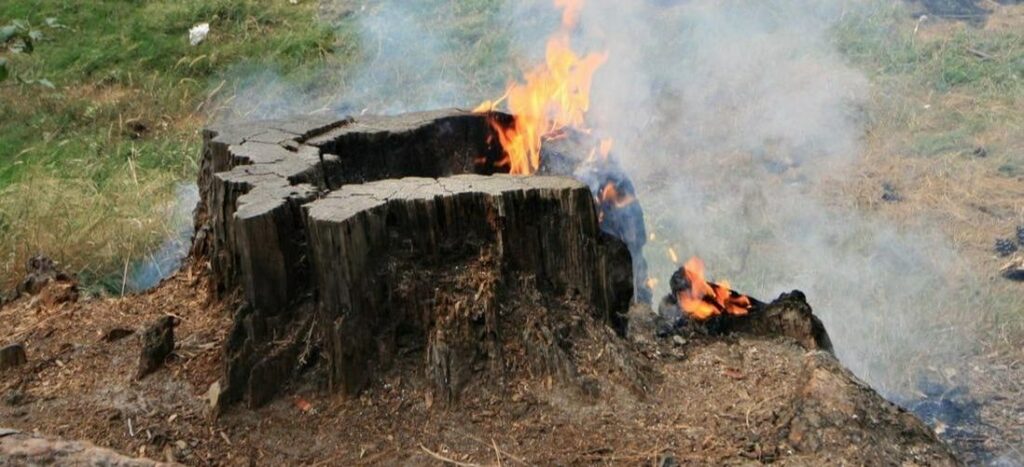
Burning the stump is another effective way to ensure that a tree won’t regrow. However, this method can be rather tedious.
Even so, you could opt to use this opportunity to create a bonfire with family and friends. You can even roast marshmallows to make smores.
It’s important to note that you may be required to contact your local municipality to ensure that burning the stump is legal where you live.
What To Do
While burning a stump is rather self-explanatory and seems simple, it still requires several steps to ensure effectiveness and safety.
- First off, you’ll want to drill several holes into the stump. This will ensure that the fire can easily make its way down to the roots of the tree.
As for the size of the hole, it should be around 7 to 8 inches wide. As for the depth, about 6 to 8 inches deep should be enough or until you’ve begun to see the roots.
- In these holes you’ll want to pour some kerosene to get the stump wet enough that it will catch fire without much difficulty.
Planter’s Tip: You can let the roots and stump soak up the kerosene for a few minutes before starting the fire.
- To actually build the fire, you can use any scrap wood such as branches, twigs, and logs.
Should the fire begin to dissipate, simply add more scrap wood to keep it going until the stump has completely burned.
Ensure that your fire is properly controlled and that your flame doesn’t go overboard.
While this may take a while to finish depending on the size of your tree, do not attempt to rush this process and burn the tree quickly as this could set nearby items ablaze.
Having mentioned that, keep a water hose or fire extinguisher nearby in case of emergencies.
4. Using Epsom salt to take all the moisture
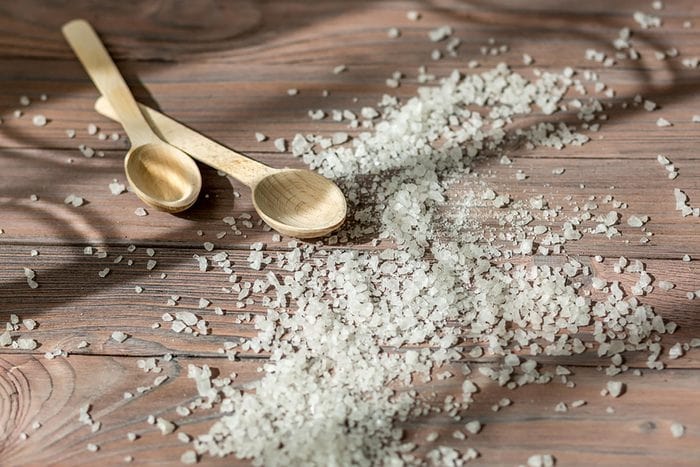
Epsom salt does absolute wonders, which is why it offers several uses. You can use it as a laxative or as an addition to your bathwater to soften skin, among others.
In this case, Epsom salt will help hasten the tree stump’s natural decomposition process by removing all the moisture within. Without any water to keep the stump alive, it will slowly dry out and begin to rot.
Aside from that, too much salt will prevent the stump from accessing potassium, magnesium, and other nutrients to survive.
Planter’s Tip: Use 100% Epsom salt. If that isn’t available, rock salt will do, but ensure that it doesn’t have any additives.
Having said that, this method will take quite a while before the stump begins to show any signs of decaying depending on the size and type of tree that you have.
In fact, it may take anywhere between 8 weeks to 4 months. Nevertheless, this is still a preferred method given its affordability.
What To Do
- The first thing that you want to get done is to drill several deep holes into your tree stump.
Do note that they don’t have to be too wide, but deep enough that you can see its roots.
Depending on how high your stump is, this may be several inches deep.
- Once you’ve got your holes ready, fill them up with a generous helping of Epsom salt. While you’re at it, fill up any cavities and crevices along the way, too.
- To ensure maximum effectiveness, use a water-proof sealant to cover the holes. This is to prevent the Epsom salt from being washed away by rainwater or blown away by the wind.
- For extra measure, cover the stump with a heavy-duty plastic bag or a dark tarpaulin to keep sunlight, rainwater, and wind out.
5. Water the tree with horticultural vinegar

Watering the tree or stump with horticultural vinegar is another great way to secretly kill it without raising suspicion, especially since it’s a rather organic and eco-friendly method.
Before we get into the details, it’s important to note that horticultural vinegar is incredibly strong and can deal a ton of environmental damage if not used carefully.
In fact, horticultural vinegar is four times more acidic than regular household vinegar which only has 5% acetic acid. Horticultural vinegar has about 15% to 20% acetic acid.
It’s because of this high concentration that horticultural vinegar is a popular ingredient for making defoliants as results are quicker and more effective.
Nevertheless, if you can’t get your hands on horticultural vinegar, you can use regular household vinegar. It can cause damage to the leaves, inhibiting photosynthesis.
Though, it may take a while longer for the tree to actually die. Hence, horticultural vinegar is the way to go if you want your tree gone within the month.
What To Do
- Drill several deep holes into the stump of the tree. You’ll want as much root system exposure as possible since you’ll want the horticultural vinegar to have direct contact with the roots.
- Pour in a generous amount of horticultural vinegar
- Afterwards, seal all of the holes shut to prevent any rainwater from entering.
In a few days to about a month, you’ll notice the tree slowly decaying. If results aren’t visible yet, it may mean that there hasn’t been enough damage to the root system.
You may want to revisit the depth of the holes or add more vinegar in your next attempt.
Slow Ways to Kill a Tree
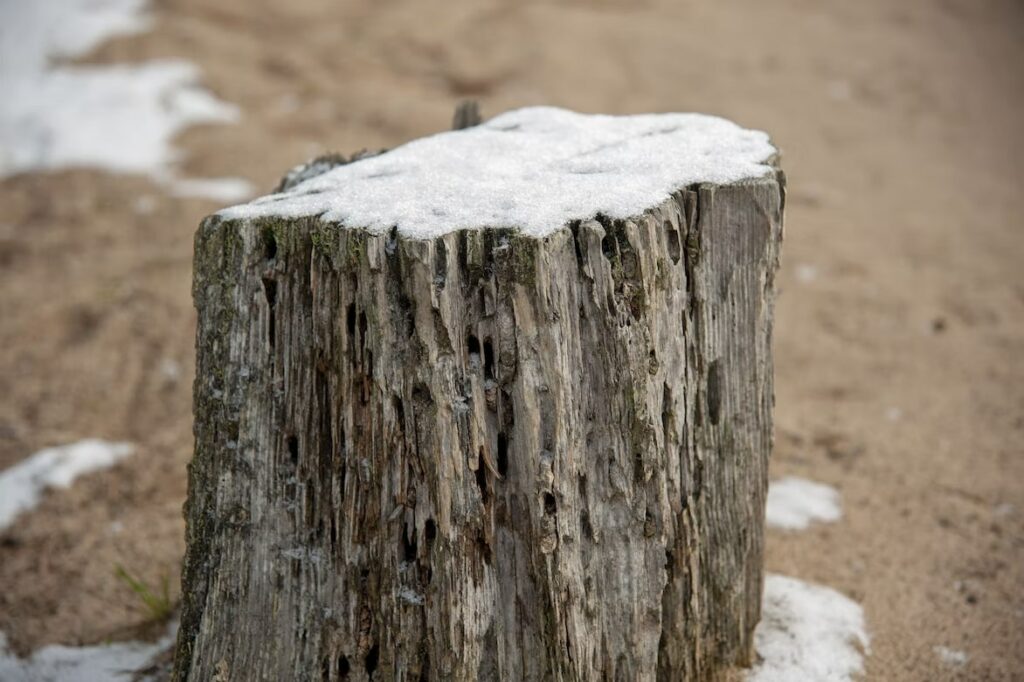
Apart from quick ways to secretly kill a tree, we’ve also listed down a couple slow methods for individuals that don’t mind keeping the tree for a little longer.
Though, these methods may require constant observation every now and then to ensure that they’re working. Aside from that, they might also require repeated applications.
Nevertheless, you’ll be able to get rid of the tree undetected after a while.
1. Applying fertilizer for expedited decay
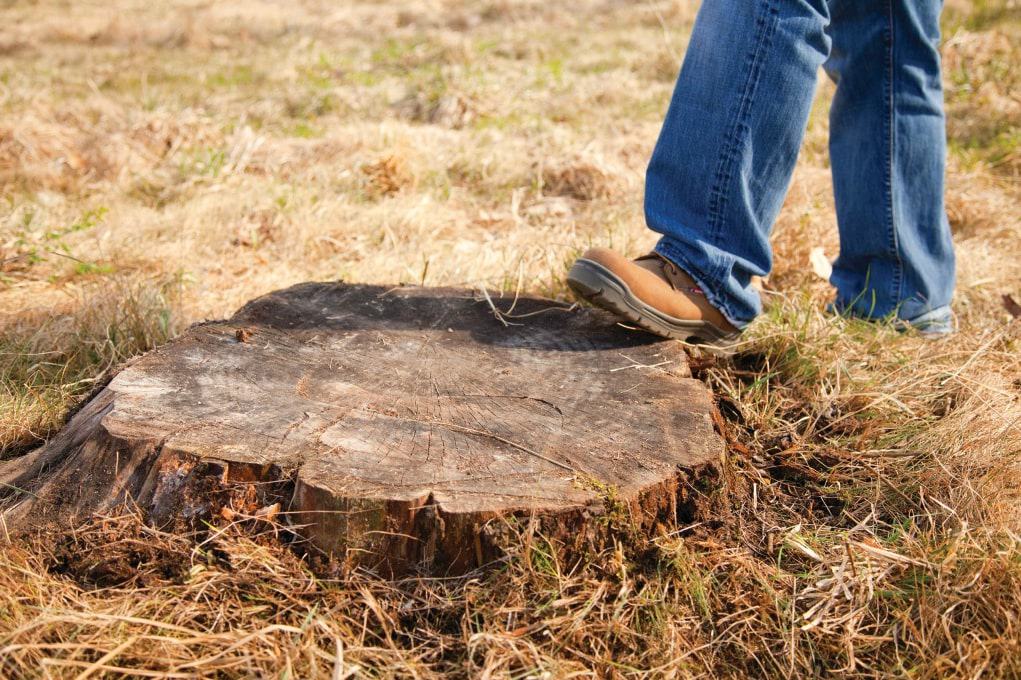
One of the more organic ways to speed up the decomposition process of your stump is to boost the nitrogen levels.
This is because the bacteria and fungi that work on decomposing the stump absolutely love nitrogen. Hence, it only makes sense to add a bit more to expedite the process.
However, this may take about a year or two before the tree fully decomposes.
What To Do
- You’ll first want to ensure that your stump is as close to ground level as possible. This way, it’ll decompose faster.
- Once you’ve got that settled, drill a couple 1-inch wide holes into the stump. You can also drill the edges at a downward angle a few inches apart from one another.
- When the stump is ready, fill the holes with high-nitrogen or time-release fertilizer. Among the two, time-release fertilizer would be the best option as it’ll continuously release nitrogen.
- Afterwards, cover the stump with soil to promote moisture which can help activate the fertilizer. To boot, add a layer of mulch and water it.
- Throughout the next couple of months, check on the rotting process, continuously adding fertilizer every now and then.
- Once you’ve noticed that the tree has begun to have notable signs of breaking down, add sugar and soil to the water to help expedite the process.
2. Driving copper nails into the trunk
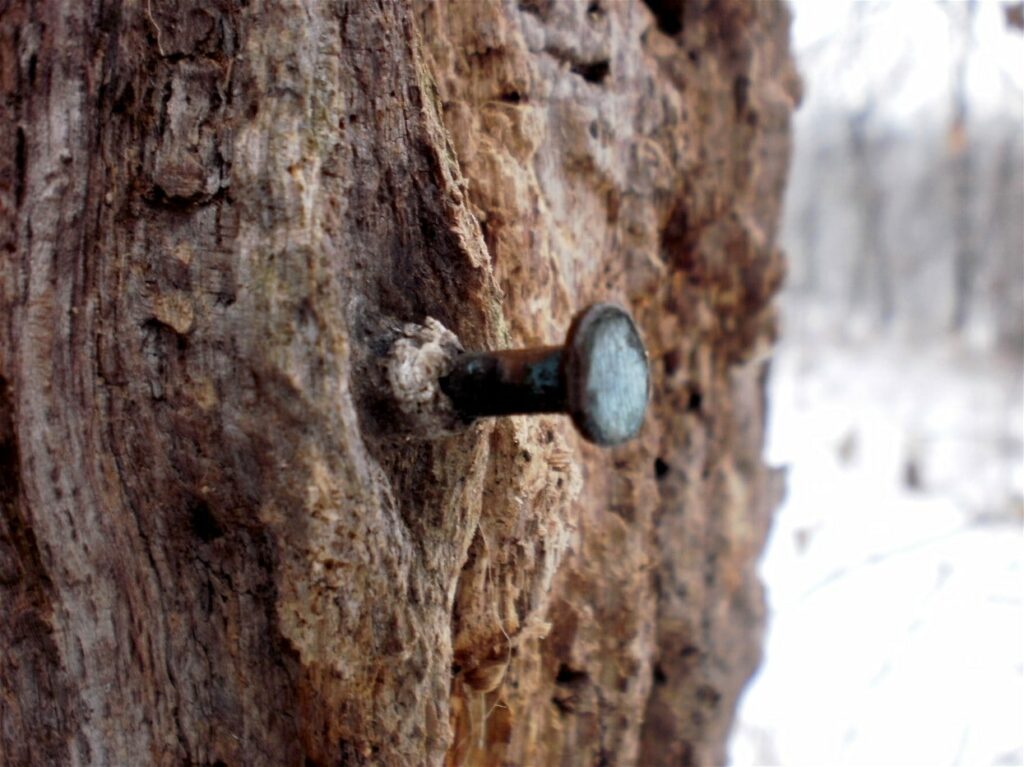
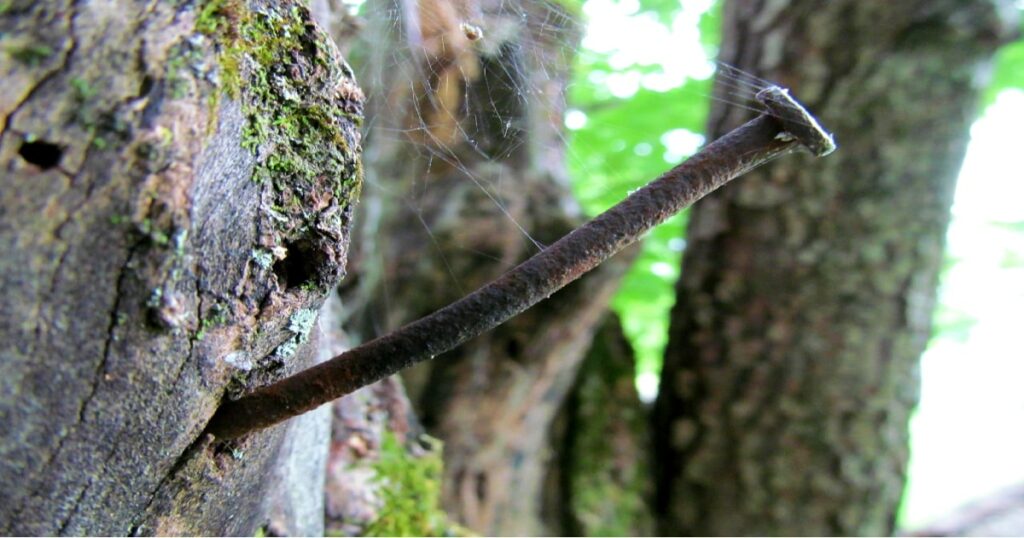
Driving copper nails into the trunk of the tree is one of the most common ways to slowly kill it. It may take over a year before the tree actually dies, though this method is one that doesn’t require too much intervention.
This method can take only a few weeks on a small, thin tree up to several months for a bigger and more established tree.
The copper from the nails oxidizes due to the moisture in the environment. Excessive copper will lead to toxicity that will eventually stunt cell growth and damage root cuticles.
Because of this, foliage will no longer be able to produce nutrients for themselves. This will severely disrupt the tree’s ability to photosynthesize.
Apart from that, the tree won’t be able to bounce back from damage, making it more susceptible to pests, diseases, and injury from environmental factors.
The damage to the roots will also provide difficulty for the tree to properly take in nutrients and water from the ground.
Having said all of that, you’ll have to drive a ton of nails into the bark and stump to get enough copper for it to be toxic enough for the tree to die.
Planter’s Tip: Opt for one of the longest copper nails that you can find because they have to pierce into the cambium, which is the cell layer responsible for growing new bark. If your nails don’t piece the cambium, your tree won’t be killed.
What To Do
- Drive several lengthy copper nails into the bark and stump of the tree at an angle as deeply as you can.
To make sure that the nails penetrate through the bark properly, you can use a hammer.
- Continue this step all over the base of the tree, forming a ring. You can also drive several nails downwards on the stump of the tree.
Space each nail about ½ to 1 inch away from one another.
- To conceal the nails, you can cover them with mud.
Planter’s Tip: Don’t forget to carefully remove the nails and dispose of them properly once the tree has died. This ensures that the safety of the individuals handling the waste management of the tree isn’t compromised.
3. Pouring boiling water

Using boiling water to kill a tree is another rather cheap solution. Actually, the only part that will require some sweat is to expose the stump’s root system.
The idea is that the scalding water will shock the exposed roots, severely damaging it, and eventually causing it to die and decay over time.
Do note that it’s possible that the roots don’t die on the first try. If so, you can repeat the process.
The natural decomposition process will only start once the roots have been killed.
What To Do
- Prepare the stump by drilling several holes as deep as you possibly can, ensuring that you can see the roots.
This is essential as you’ll want the boiling water to come into direct contact with the roots to shock and damage it.
- While you’re at it, you could dig in the surrounding area as well to expose as much of the tree’s root system as possible.
- Bring water to a boil on the stove or using a kettle. Ensure that it’s scalding hot for maximum effectiveness.
- Afterwards, carefully fill the holes with hot water. If the water you’ve poured doesn’t seem like it’s enough, simply boil again and repeat the process.
4. Using a saltwater solution

Similar to the Epsom salt method, creating a saltwater solution draws out all of the moisture in the stump.
In excessive amounts, salt will cause several deficiencies as it will prevent proper absorption of potassium, magnesium, and other much-needed nutrients to stay alive and produce chlorophyll.
Apart from that, it’ll dry out the stump of moisture. As a result, this will quicken the stump’s decomposition process.
However, this method could have repercussions to surrounding plantlife. Hence, you may need to take on other precautionary measures to prevent accidentally hurting nearby plants.
What To Do
- You’ll first need to drill several ½ inch holes around the tree diagonally at least 3 inches deep or until you’ve reached the tree’s root system.
If you’ve got a smaller stump, drilling may not be necessary, but would still be encouraged to ensure effectiveness.
- Once you’re done drilling enough holes, create your concentrated saltwater solution. Into a container, mix 3 cups of water with 6 cups of salt.
Whether you need less or more saltwater solution, maintain the 1:2 ratio of water to salt.
You may need to repeat the saltwater application several times for it to be fully effective, especially if your tree is more tolerant to salty conditions than others.
These include halophytic plants commonly located around coastal areas that can withstand the saline soil and water conditions such as:
- Mangroves
- Quinoa
- Honeylocust
- Austrian Pine
- Red Oak
- Mugo pine
- Hackberry
- Baldcypress
5. Removing the foliage

Removing the foliage is another slow way to kill a tree because without leaves, your tree won’t be able to perform photosynthesis.
Because of this, the tree will no longer be able to transfer sugars, carbohydrates, and other essential nutrients into its roots. Over time, your tree will die.
What To Do
There are several ways you can remove the foliage:
- You can trim away the foliage manually, but this may take several days and quite a lot of effort on your part. Alternatively, you could hire someone to prune the leaves for you.
- For a more laid back approach, you can spray the foliage with a vinegar solution. You should expect leaves to begin to wither and fall off within 24 hours.
This consists of 1 cup of white vinegar mixed with a gallon of water. For a more effective blend, mix 1 cup of table salt with 1 gallon of white vinegar.
Generously spray the mixture consistently until there aren’t any leaves left on your tree.
6. Forced darkness by sealing the stump with heavy-duty black plastic
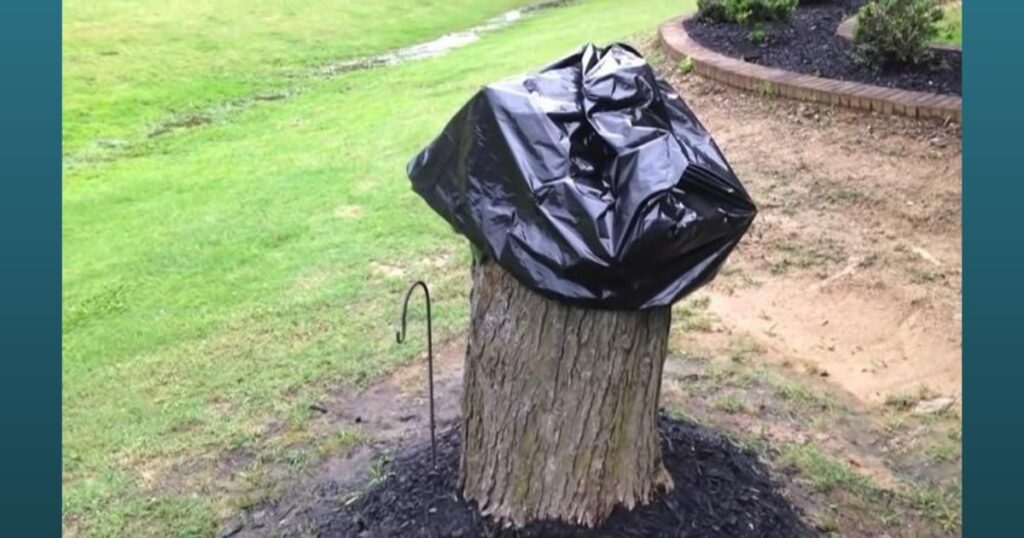
This method of naturally killing a tree is a rather straightforward process. To boot, it won’t require purchasing expensive materials, any harsh chemicals, and laborious work.
The only downside is that it may take over 6 months before you begin to notice any signs of decay.
On the bright side, this method is known to work wonders on a variety of resilient trees such as Chinese Elm trees.
Covering the stump with a plastic bag ensures that there will be no growth since there won’t be any rain or sunlight. The tree won’t have any leaves to perform photosynthesis either.
Do note that sprouts may still appear while the stump is still alive. If this happens, just chop them off.
What To Do
- Cover a freshly grinded tree stump with a black plastic bag or dark tarpaulin.
We definitely suggest using a more heavy-duty variety to ensure that it can withstand the heat and rain.
- Ensure that you properly secure the plastic bag over the stump so that it doesn’t easily fly away. You can use thick ropes, a bungie, or whatever you have readily on-hand.
7. Girdling

Also known as scaffold girdling or ring-barking, it’s an incredibly slow method of killing woody plants without actually chopping them down.
This practice is most commonly performed in forest. In this context, girdled trees are called “standing dead wood” and are used to house wildlife and replenish nitrogen, among others.
Essentially, you’ll want to remove the bark around the entire circumference of the tree.
You’ll need to get deep enough that the bark, cambium, and sometimes even the ring is severed to ensure that the tree will die.
You’ll need to cut away deep enough to ensure proper damage. If you only managed to scrape away the outer bark, the tree won’t die.
Luckily, your target, which is the secondary phloem tissue, is right behind the outer layer. These cells are responsible for the circulation of nutrients and starches to the roots.
Hence, the removal of this vital wall will put a halt to the tree’s ability to take in important nutrients. Girdling cuts off the tree’s access to sugars, carbohydrates, and more.
Removing enough bark also makes the tree more susceptible to various diseases and harm from environmental factors. This is because the bark acts as a protective layer for the tree.
Without enough food, the roots will eventually die and the rest of the tree will follow suit afterwards. It will take a year or two before the tree completely dies.
To take things up a notch, you can add some herbicides to the girdled areas to expedite the decaying process.
What To Do
- To easily girdle a tree, you can use a chainsaw girdle to cut about 6-inch wide cuts around the bark of the tree that are about ¾ inches deep.
It’s best to girdle the area of the bark that’s along or slightly above the soil line.
As for branches, you’ll want your girdled area to be at least 2 inches wide.
- Generously layer herbicide onto the girdled area.
This is essential to avoid “jumping the girdle”, which is when some trees are able to overcome this wound, regrow, and ultimately survive.
FAQs About How to Kill a Tree
Muriatic is a harsh chemical that won’t just kill a tree, but almost anything else that it touches. Hence, it’s an incredibly popular choice for getting rid of unwanted plants.
Regular household vinegar isn’t acidic enough to kill a tree. However, it can burn through the foliage, which, over time, will kill a tree.
Horticultural vinegar, on the other hand, has four times the acidity level of household vinegar. Because of this, it’s strong enough to kill a tree.
Tordon is the best type of poison to kill trees. It’s widely available in garden shops and rather straightforward to use.
You can technically kill a tree with weed killers such as Roundup, but the effectiveness levels are rather low, especially with moderate applications.
Hence, you may want to opt for other methods instead.
Even after cutting a tree down, the stump will remain alive because its roots are alive. The roots will store enough essential nutrients to begin sprouting again in order to survive.
The most common types of trees that are known to sprout again even after being chopped down are:
⮕Maples
⮕Lindens
⮕Boxelder
⮕Ash
⮕Willows
⮕Beech
⮕Poplars
Without any intervention, the stump may even grow several sprouts as a survival mechanism, which could be worse than the initial tree.
Hence, if you intend to get rid of a tree, you’ll have to ensure the removal of the entire thing.
You can definitely cut down a tree yourself without any professional help, especially if you know what to do and have the needed equipment for the job.
However, it’s important to consider that arborists have a wealth of experience in handling various types of trees.
The amount of time that it will take for the stump to fully decompose will depend on the type of tree, size of the stump, environment, location, and climate conditions, among others.
Nevertheless, the lower you cut your stump, the faster it will begin to decompose.
Overall, it will take anywhere from 3 to 7 years for a tree stump to decompose on their own and up to 10 years to fully decay.


